Bugaboo Gecko replacement tyre size 121/2" x 21/4"
Bugaboo Gecko replacement tyre size 121/2" x 21/4"
SKU:20105
In stock
- Size: 12½ x 2¼
- Colour: Black
- Tread Style: Easy Rolling
- Babystyle Oyster
- Bebecar
- Bugaboo Cameleon
- Bugaboo Frog
- Bugaboo Gecko
- Emmalijunga
- First Wheels
- Hauck Jeep
- Jane 360
- Kiddicouture
- Maclaren
- Maxi Cosi Mura
- Mothercare Movix
- Mothercare My3/My4
- Mothercare Xtreme
- Mountain Buggy Urban
- Obaby
- OutnAbout Nipper
- Quinny Buzz
- Quinny Freestyle
- Urban Detour and more.....
Couldn't load pickup availability

Due to essential maintenance work the next dispatch date for orders is Monday 19th May.
All available delivery options will be shown during checkout. The most popular options are shown below.
- Estimated delivery in 1-3 business days from dispatch date
£2.95 on all orders- UK only
- Estimated delivery in 2-5 business days from dispatch date
FREE on orders over £40£1.95 on orders under £40- UK only
We apologise for any inconvenience.

Collapsible content
Tools Required

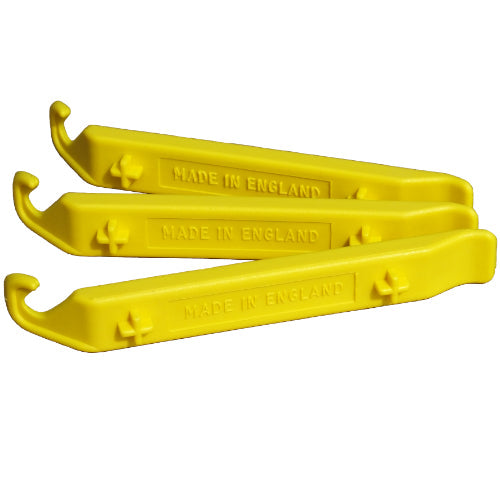
Tyre Levers are needed to remove your existing tyres. The levers we sell are made of hard wearing nylon which will not damage your wheels.

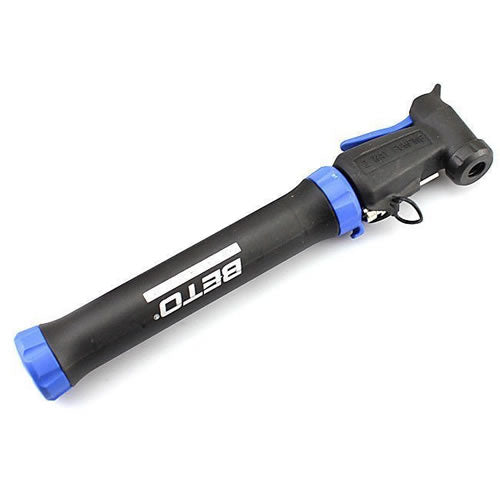
A Pump is needed to inflate your tyres during fitting and to keep them inflated for improved performance and longer life.
Returns
On Yer Bike (pramtyres.com) is happy to accept back any unwanted items for refund, within 30 days of purchase, providing the following terms are met:
- All packaging must be intact so that the item is in a re-saleable condition
- You include a copy of your receipt or your name, address and order number.
- Return postage costs are covered by the customer (please also note that your original postage charge will not be included in the refund)
- returns should reach us within 30 days of the order
- ownership and risk remains with customers until we receive the goods back at our warehouse
- please state your reason for returning the item/items
If your item/items are faulty please contact us and await instructions from a member of our staff. DO NOT RETURN FAULTY ITEMS UNLESS INSTRUCTED!!
The address for all returns is: Pram Tyres
74 Gunthorpe Road
Peterborough
PE4 7TP
If you need to contact us regarding faulty items please use one of the following methods:
- Email: sales@pramtyres.com
PLEASE DO NOT RETURN ANY FAULTY ITEMS UNLESS INSTRUCTED TO BY A MEMBER OF OUR STAFF.
Tyre and Tube Fitting Instructions
If you are just fitting a new inner tube:
- Remove your wheel from the pram, (not always necessary but makes life easier).
- Deflate the inner tube, once the air is out, pinch the tyre walls together to make it easier to lever off.
- Use a tyre lever, or two levers if your tyre is tight, and lever one side of the tyre off the rim.
- Remove the inner tube, and then you can take the tyre off completely.
- Check the wheel for any sharp objects / rough surfaces that could cause a puncture
- Check the tyre (if not replacing) for any sharp objects, do this by running your fingers around the inside carefully and remove foreign objects.
- Once happy, put one side of the tyre back on the rim
- Inflate your new inner tube just enough to shape it (a couple of pumps), this will make it much easier to fit - Don't try to fit a fully deflated "floppy" inner tube as you will probably nip it when fitting.
- Insert the inner tube into the tyre with the valve in line with the valve hole in the rim
- Push the valve into the valve hole
- Now you can put the other side of the tyre on the rim, if possible do this with your thumbs as levering a tyre on can sometimes pinch the inner tube. If you do need to use tyre levers be careful not to damage the new tube.
- Once the tyre is on you can inflate to the recommended PSI, you can use some Schwalbe Easy Fit to help the tyre slip into place under the rim bead. Its not always necessary but makes it easier. You can also use fairy liquid! but you'll need to clean that off after.
- Finally, check to make sure the tyre bead is seated properly on the rim.
- Now just put your wheel back on and you're good to go.
If you are replacing the tyre and the inner tube
- Remove your wheel from the pram, (not always necessary but makes life easier).
- Deflate the inner tube, once the air is out, pinch the tyre walls together to make it easier to lever off.
- Use a tyre lever, or two levers if your tyre is tight, and lever one side of the tyre off the rim.
- Remove the inner tube, and then you can take the tyre off completely.
- Check the wheel for any sharp objects / rough surfaces that could cause a puncture
- Once happy, put one side of the new tyre on the rim
- Inflate your new inner tube only just enough so it has a "bit of shape", this will make it much easier to fit - Don't try to fit a fully deflated "floppy" inner tube as you will probably nip it when fitting.
- Put the semi inflated inner tube in the valve hole of the wheel, and push the tube up into the tyre.
- Now you can put the other side of the tyre on the rim, if possible do this with your thumbs as levering a tyre on can sometimes puncture the inner tube. If you do need to use tyre levers be careful not to damage the new tube.
- Once the tyre is on you can inflate to the recommended PSI, you can use some Schwalbe Easy Fit to help the tyre slip into place under the rim bead. Its not always necessary but makes it easier. You can also use fairy liquid! but you'll need to clean that off after.
- Finally, check to make sure the tyre bead is seated properly on the rim.
- Now just put your wheel back on and you're good to go.
TIGHT & UNEVEN FITTING TYRES:
- Another useful tip for fitting tight tyres, or tyres that you are having trouble sitting evenly on the rim, is to warm them up first, on a radiator or in a warm airing cupboard. This makes them more pliable and a bit easier to fit.
MIS-SHAPED TYRES:
Check out this video before fitting. Click Here for video.It is a good idea to warm up the tyre and manipulate it to get it as near to normal shape as possible. Mis-shaped tyres are fitted the same way as any other tyre, but special attention should be paid to the part of the tyre which is misshapen. Once the tyre is on the wheel you should inflate it a little at a time and make sure the misshapen part is not coming off the rim, if it is simply push it back into position and add a little more air.
ALWAYS KEEP MIS-SHAPED TYRES INFLATED TO THE MAXIMUM P.S.I.
Recommended Products
-
Tyre Levers pack of 3
Regular price £2.99 GBPRegular priceUnit price / per -
Weldtite self-seal repair patches (pack of 8)
Regular price £2.99 GBPRegular priceUnit price / per -
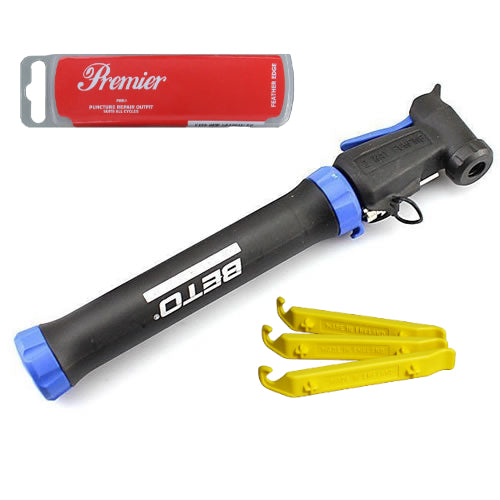
Essential Tool Kit with Mini-Pump
Regular price £12.95 GBPRegular priceUnit price / per£14.97 GBPSale price £12.95 GBPSale


